
A small faucet part can make a surprisingly big difference in your home’s water flow. When water starts coming out unevenly, slowly, or in different directions, the aerator may be the reason. Fortunately, removing faucet aerator components is often a simple DIY task once you know what to look for and how to do it.
A faucet aerator sits at the end of many faucets and helps regulate the water stream while reducing splashing. Over time, mineral deposits and debris can collect inside it, affecting performance. Mad Pipers Plumbing understands that even small plumbing issues can be frustrating, so we are sharing this practical guide to help homeowners remove an aerator safely.
How to Remove a Faucet Aerator Without Damaging the Faucet
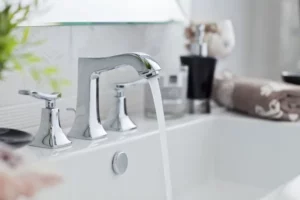
Before you begin, take a moment to inspect your faucet spout. The aerator is usually located at the very end and may look like a small round screen or cap. Some are clearly visible, while others are designed to sit inside the spout.
Knowing your type makes removal much easier. External aerators generally screw onto the outside of the spout, while hidden aerators, sometimes called cache aerators, are recessed inside the faucet.
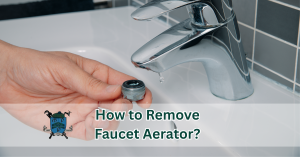
If you’re wondering how to remove faucet aerator parts correctly, don’t reach for heavy tools right away. In many cases, you can start by using your fingers. Turn the aerator counterclockwise while keeping the faucet steady.
Mad Pipers Plumbing recommends working gently because excessive force can damage the finish or threads on the faucet.
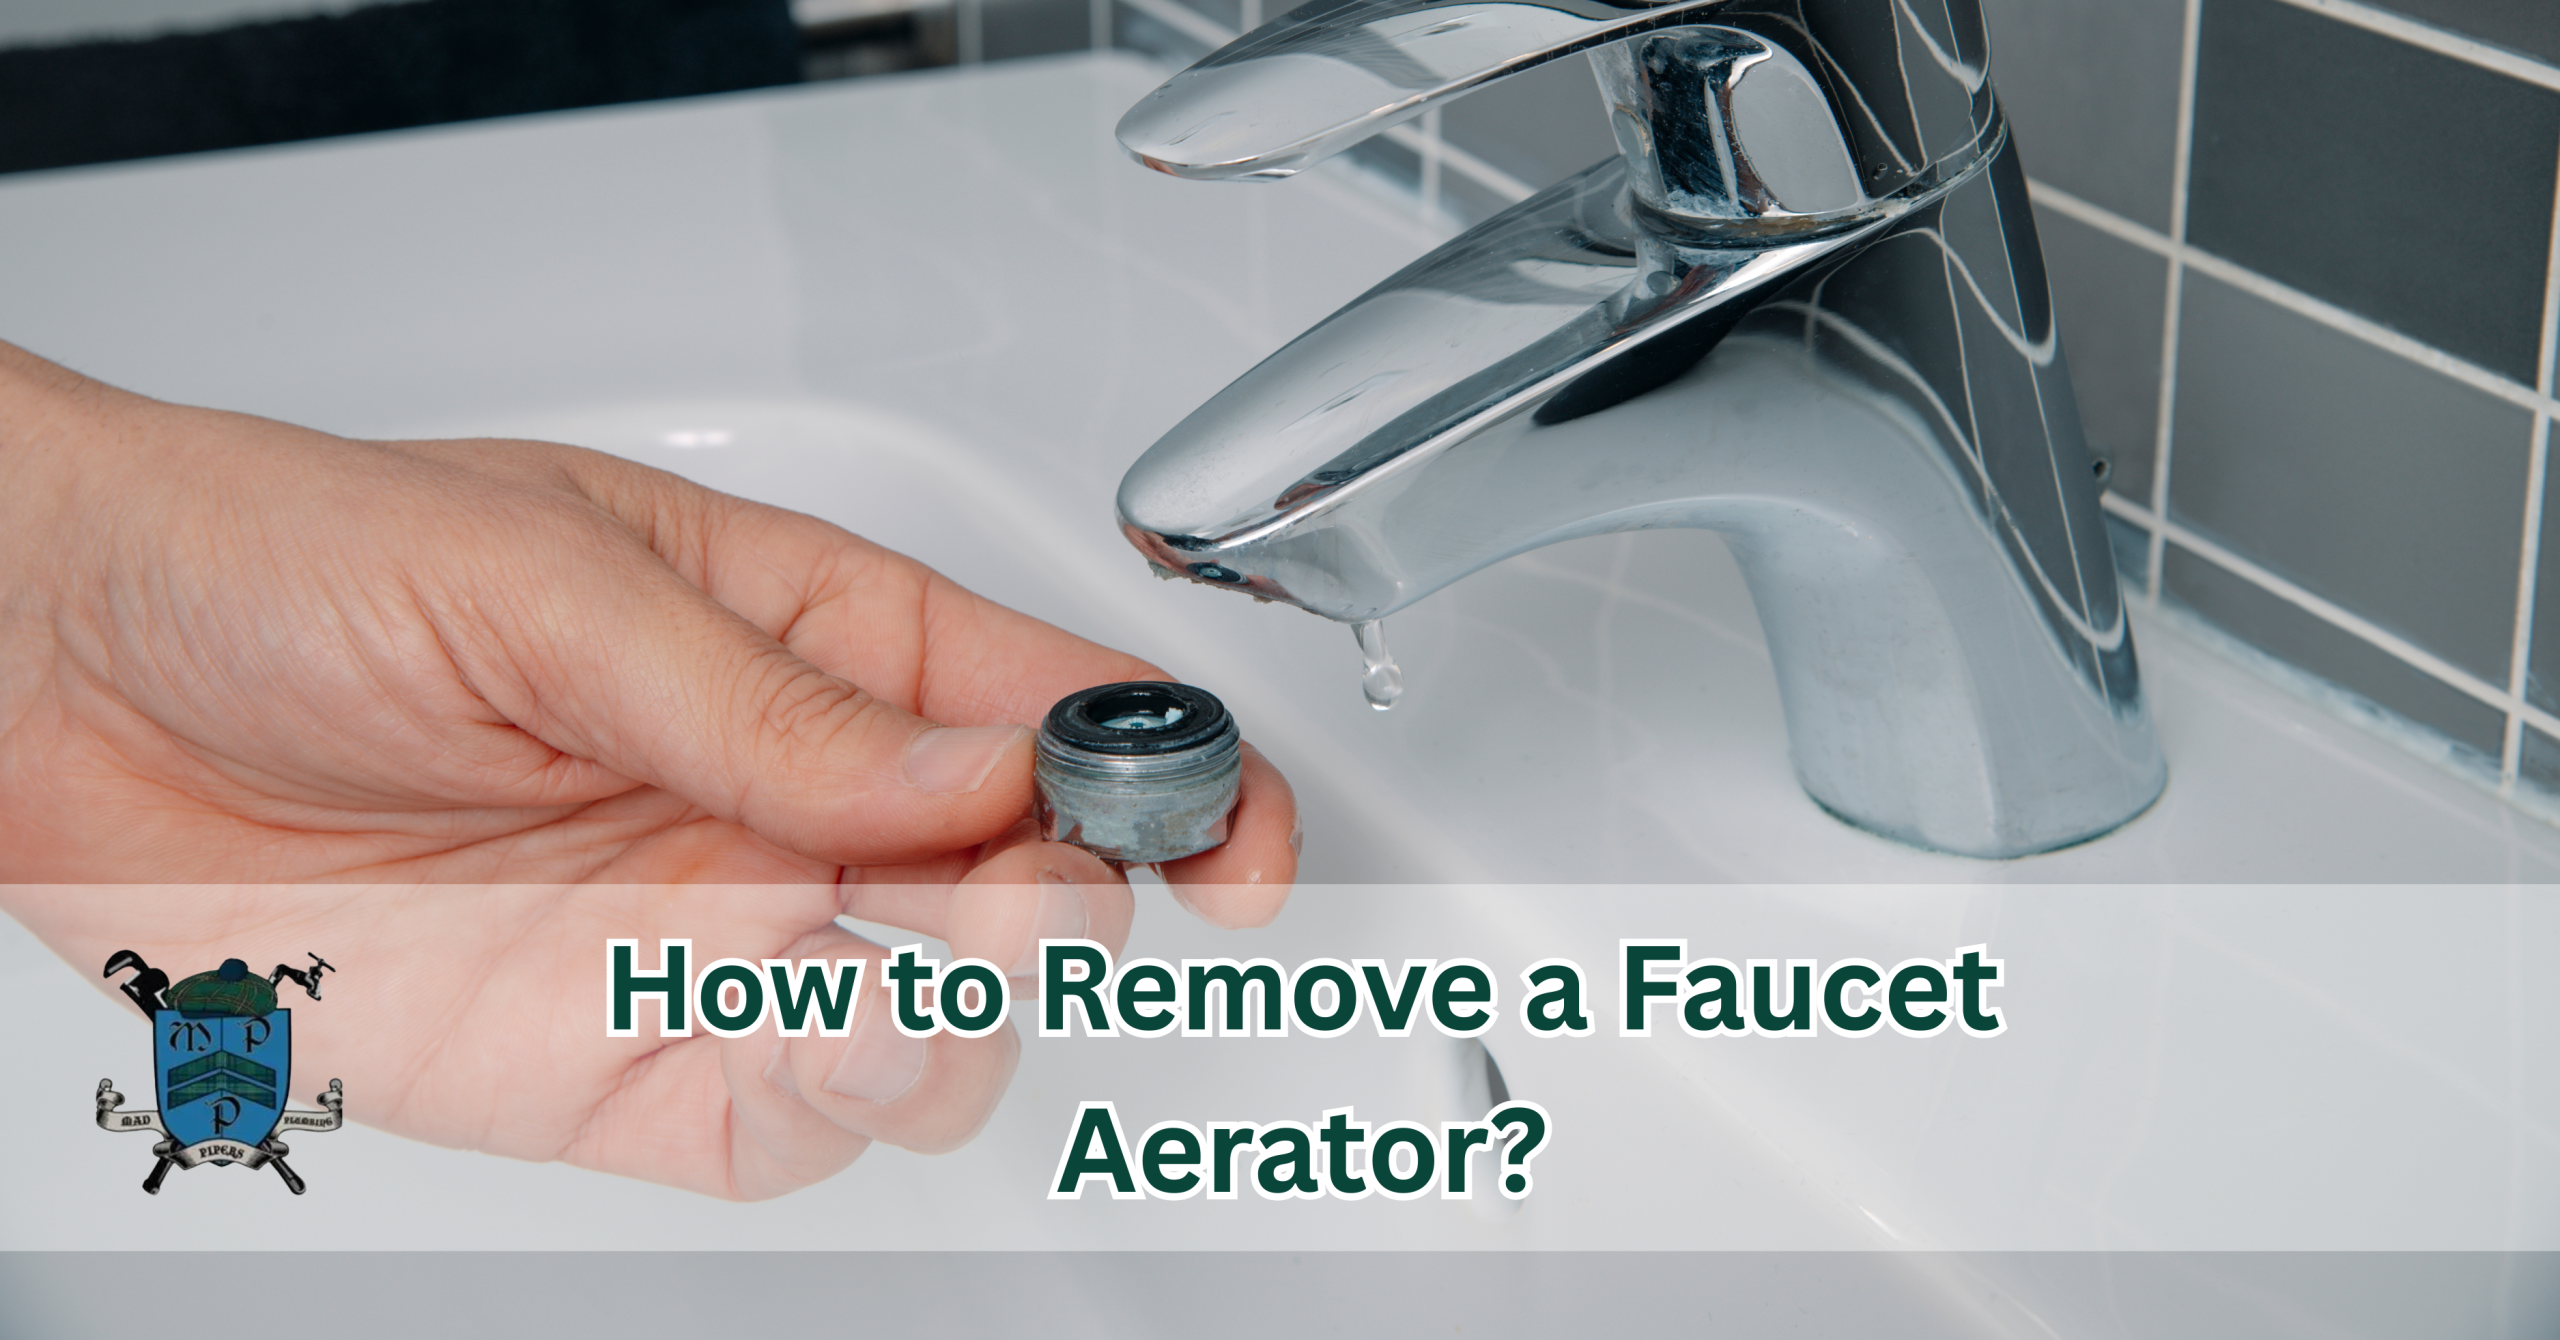
Remove Faucet Aerator by Hand First
The easiest approach is always to remove faucet aerators by hand before using a tool. Turn off the faucet and dry the area around the spout for better grip.
Place your fingers around the aerator and slowly turn it counterclockwise. If it moves, continue turning until it comes free. Keep the small components together so they do not fall into the sink.
For an aerator that has been installed for a long time, mineral buildup may make it feel stuck. Avoid twisting aggressively, particularly if you have a delicate kitchen or bathroom faucet.
If hand removal does not work, Mad Pipers Plumbing suggests protecting the faucet finish before trying a wrench.
When a Strap Wrench Can Help
A strap wrench can provide additional grip when an aerator is difficult to loosen. Unlike traditional metal wrenches, a strap wrench grips an object without putting hard metal edges directly against its surface.
Wrap the strap around the aerator and apply gentle pressure as you turn counterclockwise. The goal is to loosen the component, not force it loose in one movement.
If you don’t have a strap wrench, wrap a cloth around the aerator before using an appropriate wrench. This provides an extra layer of protection against scratches.
Mad Pipers Plumbing recommends stopping if the faucet itself begins moving. The faucet should remain secure while you work on the aerator.
Identifying External and Hidden Aerators
Not every faucet uses the same type of aerator. Understanding the difference can save time and prevent you from using the wrong tool.
External aerators are visible on the outside of the faucet spout and commonly twist off by hand. Hidden aerators, on the other hand, are installed inside the end of the spout. These may not have an obvious surface to grip.
A cache aerator often requires a special aerator key or aerator wrench. The key fits into the recessed aerator so you can turn it for removal.
Before purchasing a tool, check the faucet manufacturer’s specifications when possible. Certain brands, including Kohler, may use specific aerator designs that require a compatible key.
Using an Aerator Key for Hidden Aerators
If your faucet has a hidden aerator, don’t try to force it out with pliers. You may damage the recessed fitting or scratch the surrounding faucet spout.
Instead, look for an aerator key that matches the aerator. An aerator wrench is another useful option for compatible designs. Carefully insert the key into the aerator, ensuring it sits securely in the grooves.
Turn it counterclockwise using steady pressure. Once the aerator starts moving, continue slowly until it comes out.
This method is particularly useful for modern faucets where the aerator is designed to blend into the end of the spout. Mad Pipers Plumbing encourages homeowners to identify the fitting first rather than applying unnecessary force.
What to Do When the Aerator Is Stuck
Mineral deposits are one of the most common reasons an aerator becomes difficult to remove. Hard water can leave calcium and other deposits around the threads, making the connection tighter over time.
If your aerator is stuck, try soaking the removable portion in vinegar. Vinegar can help loosen mineral buildup and make the aerator easier to turn.
If you can’t easily remove an aerator from the faucet, carefully apply vinegar around the affected area and let it work. Avoid damaging the faucet’s finish or leaving cleaning solutions on surfaces longer than the manufacturer recommends.
If the fitting remains stuck, forcing it may create a bigger plumbing problem. Mad Pipers Plumbing can help when a basic aerator issue requires professional attention.
Cleaning the Aerator Before Putting It Back
After removing the aerator, inspect the small screens and internal pieces. Dirt, sediment, and mineral deposits can restrict water flow, even when the faucet works correctly.
Rinse the parts thoroughly with clean water. If mineral buildup remains, soaking suitable components in vinegar can help loosen the deposits. Use a soft brush to remove residue without damaging the screen.
Keep track of the order of the pieces during cleaning. Some faucet aerators contain several small components, and putting them back incorrectly can affect the flow pattern.
A clean aerator can help your faucet produce a smoother stream and reduce unnecessary splashing around the sink.
Reinstalling the Aerator Correctly
After cleaning, check the aerator and its threads before reinstalling it. Make sure no debris prevents a proper connection.
Start threading the aerator onto the faucet spout by hand. Turn it clockwise and keep the connection straight. If it does not thread easily, stop and check the alignment rather than forcing it.
Once it is hand-tight, you may use an appropriate wrench if necessary. Do not overtighten the aerator, as excessive pressure can make future removal harder and may damage the threads.
Turn the water on slowly and check the flow. Look for leaks around the connection and make sure the stream is even.
Mad Pipers Plumbing recommends checking the connection immediately after reinstalling the aerator so you can identify any problems before normal use resumes.
When Faucet Aerator Problems Need Professional Help
Removing and cleaning an aerator is usually straightforward, but not every faucet problem comes from the aerator. Low water pressure, persistent leaks, unusual noises, or poor flow can sometimes point to a larger plumbing concern.
For example, if cleaning the aerator doesn’t improve water flow, debris may be elsewhere in the plumbing system. Problems involving supply lines, valves, cartridges, or other faucet components may require more detailed inspection.
Be cautious when working with older faucets. Corroded parts can break under excessive pressure, turning a simple repair into a more involved replacement.
Whether you need help with a kitchen sink, bathroom fixture, or another plumbing concern, Mad Pipers Plumbing provides professional support for homeowners who want dependable solutions.
Get Reliable Plumbing Help From Mad Pipers Plumbing
A clean aerator can make a noticeable difference in everyday water use, but knowing when to stop a DIY project is just as important as knowing how to begin. If your aerator is severely stuck, your faucet keeps leaking, or the water flow remains poor after cleaning, professional help can save time and prevent unnecessary damage.
For dependable plumbing service and practical solutions, turn to Mad Pipers Plumbing. Our team is ready to help with faucet concerns and a wide range of plumbing needs, giving you confidence that your home’s water systems are in capable hands.
When a small plumbing problem needs the right solution, Mad Pipers Plumbing is here to help you get your home’s water flowing smoothly again.