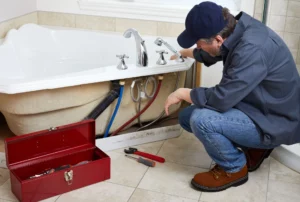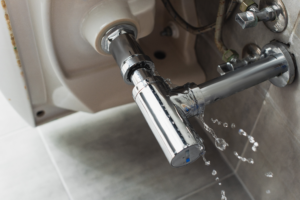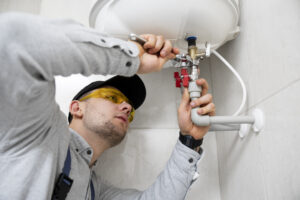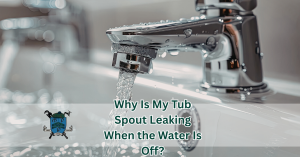

Every drip tells a story, but it should never tell the story of wasted water and higher utility bills. A dripping faucet may seem like a small annoyance, yet those constant drops can waste gallons of water over time and increase your monthly expenses. The good news is that many minor faucet issues can be fixed with a few basic tools and a little patience.
This guide explains How to stop a dripping faucet using simple DIY methods while helping you understand what causes the issue in the first place. Whether you have a kitchen faucet or a bathroom faucet, following the correct steps can save water, reduce costs, and extend the life of your plumbing fixtures. When a repair becomes more complicated than expected, Mad Pipers Plumbing is always ready to provide professional assistance with dependable solutions for homeowners.
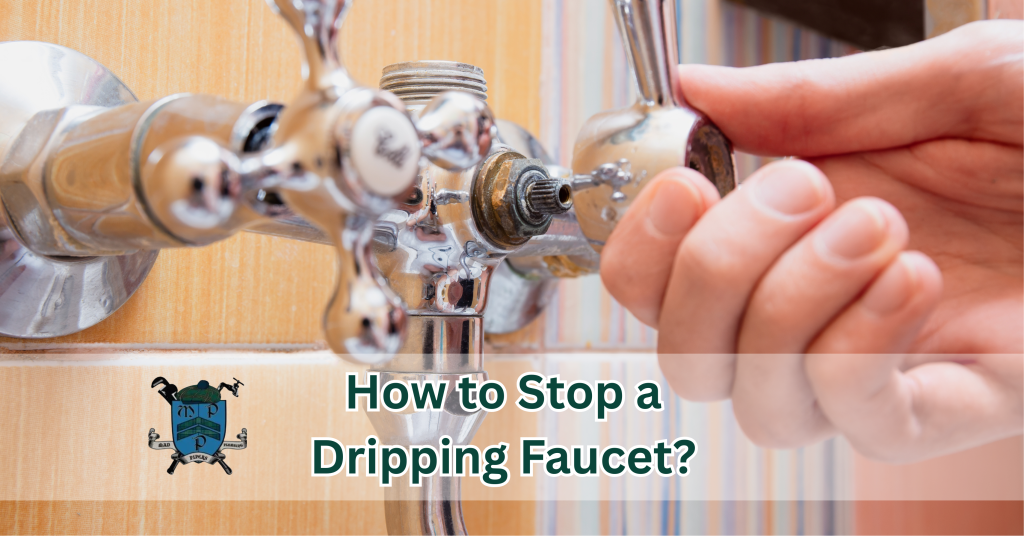
Understanding Why a Dripping Faucet Happens
Before beginning any repair, it helps to understand why a dripping faucet develops. Faucets contain several moving parts that work together to control the flow of water. Over time, these components naturally wear down due to daily use.
Common reasons for a leaking faucet include worn seals, damaged washers, a faulty faucet cartridge, loose threads, or a worn faucet stem. Mineral deposits from hard water can also interfere with the smooth operation of the internal mechanisms.
Ignoring a small faucet leak can eventually lead to a larger plumbing problem, especially if water continually rubs against internal components, causing additional wear. Mad Pipers Plumbing often helps homeowners address these issues before they become costly repairs.
Shut Off the Water Supply Before You Begin
The first and most important step is turning off the water supply. Working on a faucet without shutting off the water can quickly create an unnecessary mess.
Look underneath your sink to locate the shutoff valves. Turn both valves clockwise until they stop. If individual valves are unavailable or do not function properly, you may need to shut off your home’s main water supply.
Next, turn on the faucet to release any remaining water pressure. This simple precaution makes disassembly much safer and easier.
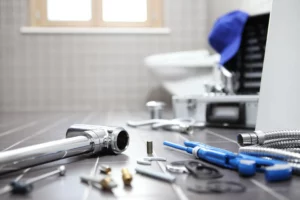
Before starting the repair, gather a few basic tools:
- Adjustable wrench
- Screwdriver
- Replacement washer or faucet cartridge
- Plumber’s grease
- Clean cloth
- Small container for screws and parts
Keeping everything organized will make it much easier to remove, inspect, and reassemble the faucet later.
Remove the Faucet Handle Carefully
Once the water is off, it’s time to access the internal components.
Most faucets have a decorative cap hiding the screw that secures the faucet handle. Gently pry off the cap using a flat screwdriver. Remove the screw and carefully lift off the handle.
If corrosion makes the handle difficult to remove, avoid forcing it. Instead, gently wiggle it back and forth until it loosens. Excessive force may damage the fixture.
After removing the faucet handle, you’ll gain access to the inner assembly that controls water flow. Mad Pipers Plumbing recommends placing each small component in order, so reassembly becomes much simpler.
Inspect the Stem and Packing Nut
With the handle removed, you’ll usually see the packing nut holding the faucet assembly together.
Use an adjustable wrench to carefully loosen and remove the packing nut. Beneath it sits the stem, which controls water flow when the faucet is turned on and off.
Pull out the faucet stem and inspect it carefully. Look for:
- Worn seals
- Damaged washers
- Corrosion
- Cracks
- Mineral buildup
A worn stem often allows water to bypass the sealing surfaces, causing persistent dripping. In many cases, simply replacing the damaged parts restores normal function.
If the threads appear stripped or severely worn, replacing the entire assembly may be the better long-term solution.
Replace the Faucet Cartridge or Worn Parts
Many newer fixtures use a faucet cartridge instead of traditional washers. Knowing your faucet type helps determine which components require replacement.
For cartridge-style faucets, carefully pull out the old cartridge and install a matching replacement. Make sure it sits correctly inside the housing before continuing.
If your faucet uses compression components, inspect the washers and O-rings. Even a small crack can allow enough water to create a noticeable leak.
During installation:
- Match replacement parts exactly.
- Apply plumber’s grease where appropriate.
- Avoid overtightening components.
- Keep everything clean before installation.
Replacing worn components is often the most effective repair for a leaky faucet. Mad Pipers Plumbing recommends using quality replacement parts because inexpensive alternatives may wear out much sooner.
Reassemble the Faucet Correctly
Once all damaged components have been replaced, it’s time to reassemble the faucet.
Insert the repaired or new faucet stem or faucet cartridge into position. Tighten the packing nut securely without over-tightening, as excessive pressure may damage seals.
Reattach the faucet handle, tighten its mounting screw, and replace the decorative cap.
After everything is assembled, slowly restore the water supply by opening the shutoff valves beneath your sink.
Turn on both the hot and cold settings to ensure smooth operation. Watch carefully for any signs of a remaining faucet leak around the base, the handle, or underneath the sink.
If no water escapes, congratulations. Your DIY repair has likely solved the issue.
Kitchen Faucet vs Bathroom Faucet Repairs
While the repair process is generally similar, there are slight differences between kitchen and bathroom faucets.
Kitchen fixtures often experience more frequent daily use. They may include sprayers, pull-down heads, or multiple operating modes, increasing the number of components that can eventually wear out.
A bathroom faucet, on the other hand, usually has a simpler design but is more susceptible to mineral buildup because of slower water flow and constant moisture exposure.
Whether you’re repairing the kitchen or bathroom, identifying the exact faucet type before purchasing replacement components is essential. Using incorrect parts may fail to stop the dripping faucet entirely.
When homeowners are unsure which replacement components are needed, Mad Pipers Plumbing can quickly identify the issue and install the proper solution.
Common DIY Mistakes to Avoid
DIY plumbing repairs can save money, but a few common mistakes may create additional problems.
One frequent error is forgetting to shut off the water supply completely before beginning work. Another is mixing up small internal parts during disassembly, making it difficult to reassemble the faucet correctly.
Many homeowners also tighten the packing nut too much. While it may seem that a tighter fit prevents leaks, excessive force can actually damage seals or crack components.
Using mismatched replacement cartridge models or failing to inspect worn threads can also result in continued dripping.
If the faucet continues leaking after replacing the washer, stem, or faucet cartridge, the issue could involve hidden valve damage or worn plumbing connections inside the fixture. At that point, professional service is often the safest and most cost-effective option.
When to Call a Professional Plumber
Some faucet repairs are straightforward, but others require specialized tools and experience.
If your faucet continues to leak despite replacing worn components, if the hot water valve no longer functions properly, or if corrosion has damaged the internal assembly, professional assistance can prevent further plumbing damage.
Experienced technicians can diagnose issues quickly, protect surrounding plumbing, and recommend repairs that last.
At Mad Pipers Plumbing, every service call focuses on quality workmanship, honest recommendations, and long-term reliability. Whether you’re dealing with a simple dripping faucet, a stubborn leak, or a full faucet replacement, the experienced team is prepared to help homeowners restore efficient plumbing throughout the home.
Contact Us
A single drip may seem harmless today, but over weeks and months, it can waste significant amounts of water and quietly increase your utility bills. Learning How to stop a dripping faucet is a valuable DIY skill that helps protect both your plumbing system and your budget.
When the repair becomes more complex than expected, trust Mad Pipers Plumbing to deliver dependable solutions with expert craftsmanship and outstanding customer care. From replacing worn faucet components to solving persistent plumbing problems, Mad Pipers Plumbing is committed to helping homeowners enjoy reliable, leak-free plumbing that stands the test of time.