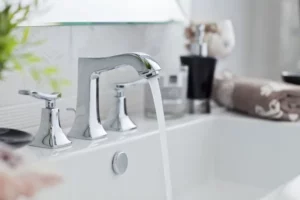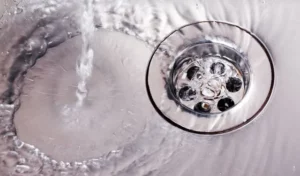

A slow stream of water can turn simple daily tasks into frustrating chores. Whether you are washing dishes in the kitchen or rinsing your hands in the bathroom, a clogged faucet aerator often hides behind the problem. Learning how to remove faucet aerator components safely can restore proper water flow without requiring major plumbing work. This straightforward task can also improve water efficiency and help extend the life of your fixtures.
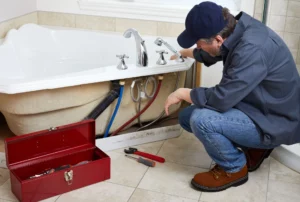
At Mad Piper’s Plumbing, homeowners frequently ask why their faucets suddenly lose pressure. In many cases, mineral buildup or trapped debris inside the aerator is the culprit. This guide explains the process from start to finish, helping you clean or replace the part while protecting your fixture from unnecessary damage.
Understanding the Faucet Aerator Before You Remove It
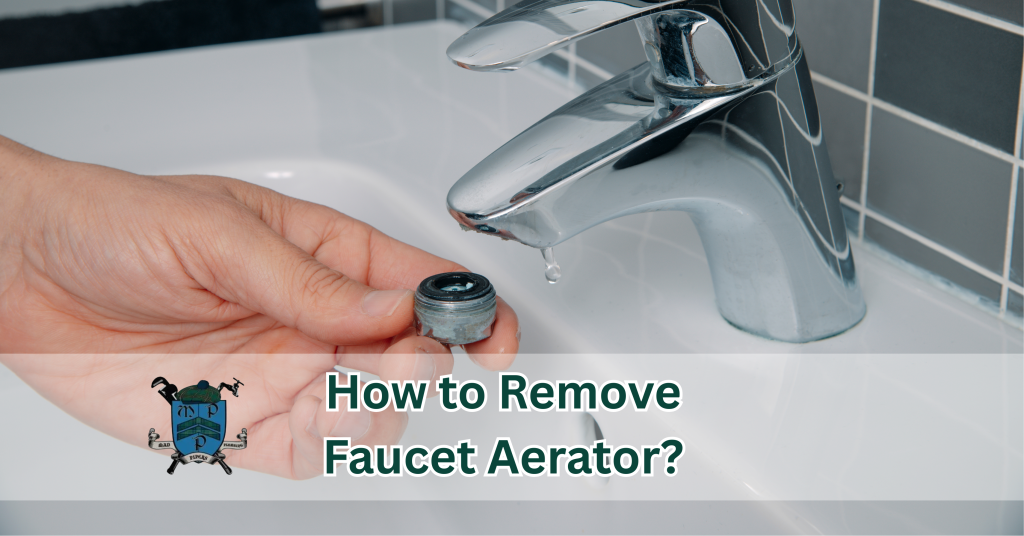
Before beginning any aerator removal, it helps to know what the component actually does. A faucet aerator is a small attachment installed at the spout tip. It mixes air with water to create a smoother stream, reduce splashing, and conserve water.
Many kitchen and bathroom faucets use standard threaded designs, while newer models may feature a recessed or hidden style. Some include a visible aerator that can be unscrewed by hand, while others use a cache aerator requiring a specialised tool. Knowing which type you have makes the removal process much easier.
How to Remove Faucet Aerator Without Damaging the Finish
If you are wondering how to remove faucet aerator parts safely, patience is more valuable than force. Begin by turning off the faucet and inspecting the spout tip.
For a standard threaded aerator, try twisting it counterclockwise using your hand. If it refuses to move, wrap a soft cloth around it before using pliers or pump pliers to prevent scratches.
For a recessed model, insert the appropriate tool into the cache aerator slots and rotate carefully. Once loosened, continue turning until the aerator housing comes free.
Mad Piper’s Plumbing recommends avoiding excessive pressure, as damaged threads can lead to bigger repair issues later.
Your Essential Aerator Removal Guide for a Smooth Process
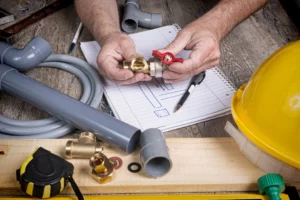
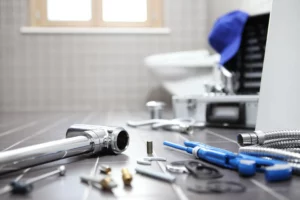
Every successful aerator removal guide starts with gathering the right equipment. Having everything nearby keeps the task simple and organised.
You may need:
- A soft cloth to protect the finish
- Standard pliers or pump pliers
- A cache aerator removal tool for recessed designs
- A small brush for cleaning debris
- Mild vinegar solution for mineral buildup
- A towel to catch small parts
Using appropriate tools minimises the risk of damaging the faucet or its delicate threads. The experienced technicians at Mad Piper’s Plumbing always emphasise preparation before beginning any plumbing service.
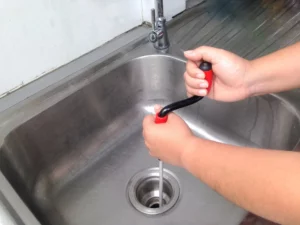
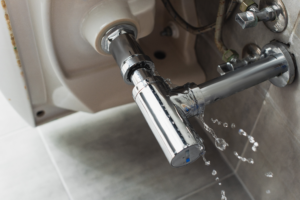
Remove Faucet Components Carefully and Inspect for Hidden Debris
Once you have successfully removed the faucet parts from the spout, carefully separate the internal screens and washers. These pieces often contain sediment, sand, or calcium deposits that restrict water flow.
Place the components in a bowl of vinegar for several minutes to dissolve mineral buildup. After soaking, gently scrub the filter using a soft brush and rinse thoroughly.
Inspect the aerator housing, threads, and screw surfaces for signs of corrosion or damage. If any pieces appear cracked or excessively worn, replacement may be more effective than cleaning.
At Mad Piper’s Plumbing, technicians regularly find that a simple cleaning restores performance without the need to replace the entire faucet.
Cleaning or Replacing a Faucet Aerator for Better Water Flow
Sometimes cleaning is enough, but heavily damaged aerators should be replaced. Installing a new faucet aerator is often inexpensive and can noticeably improve water pressure and consistency.
Reassemble the cleaned parts in the same order they were removed. Thread the unit back onto the spout by hand to avoid cross-threading. Once snug, tighten gently if necessary without overtightening.
Whether working on kitchen fixtures or bathroom sinks, proper installation helps maintain balanced flow while reducing splashing.
Homeowners who feel uncertain during the process can rely on Mad Piper’s Plumbing for professional guidance and dependable service.
Common Mistakes to Avoid During Aerator Removal
Many do-it-yourself repairs become more difficult because of avoidable errors. Taking a few precautions can save time and prevent expensive damage.
One common mistake is forcing stuck components with excessive strength. Another is using metal tools directly against decorative finishes without protection. Some people also forget to check for reverse threading or hidden recessed designs.
The specialists at Mad Piper’s Plumbing encourage homeowners to work slowly and verify the aerator type before attempting removal. A careful approach protects both the fixture and the sink area from accidental damage.
Why Regular Faucet Maintenance Matters
Routine maintenance keeps faucets operating efficiently year after year. Mineral deposits naturally accumulate over time, especially in areas with hard water. Cleaning the aerator every few months helps preserve consistent pressure and reduces unnecessary wear.
A clean filter also supports improved water quality by removing trapped particles before they pass through the faucet. Whether in a busy kitchen or a frequently used bathroom, this small component plays a surprisingly important role in everyday convenience.
With preventive care and occasional inspections, many homeowners can avoid larger plumbing problems that require extensive repairs. Mad Piper’s Plumbing believes proactive maintenance is one of the easiest ways to extend the life of household fixtures.
How to Remove a Faucet Aerator Successfully
Learning How to remove faucet aerator components is a practical skill that can improve water flow, reduce buildup, and keep your plumbing system functioning efficiently. By identifying the aerator type, using the correct tool, and handling the threads with care, you can complete this project confidently while protecting your fixture.
Contact Us
When cleaning or replacing a faucet aerator becomes more challenging than expected, trust Mad Piper’s Plumbing for expert assistance. From stubborn aerator removal to complete faucet repairs and dependable plumbing service, the skilled team at Mad Piper’s Plumbing is committed to delivering quality workmanship and lasting results. Contact Mad Piper’s Plumbing today and let experienced professionals keep your home flowing smoothly.